Beef Enchiladas
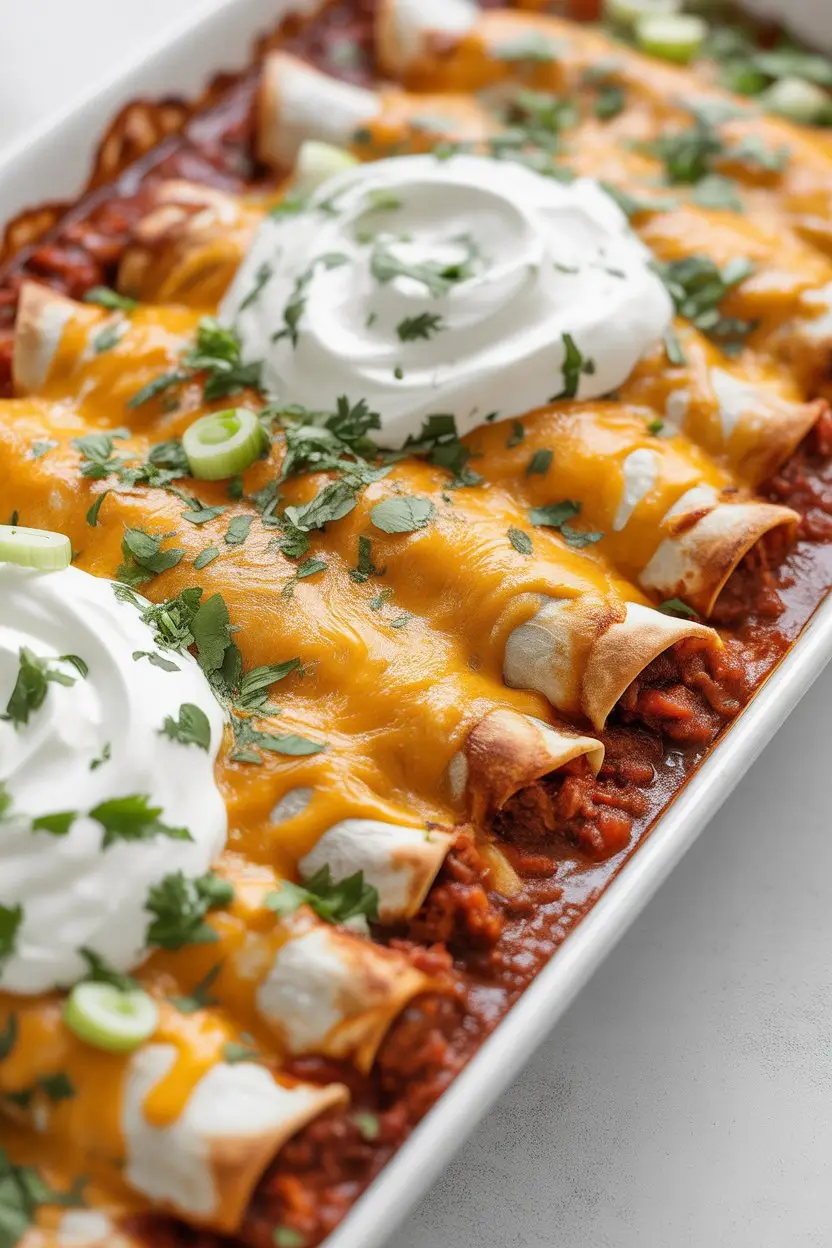
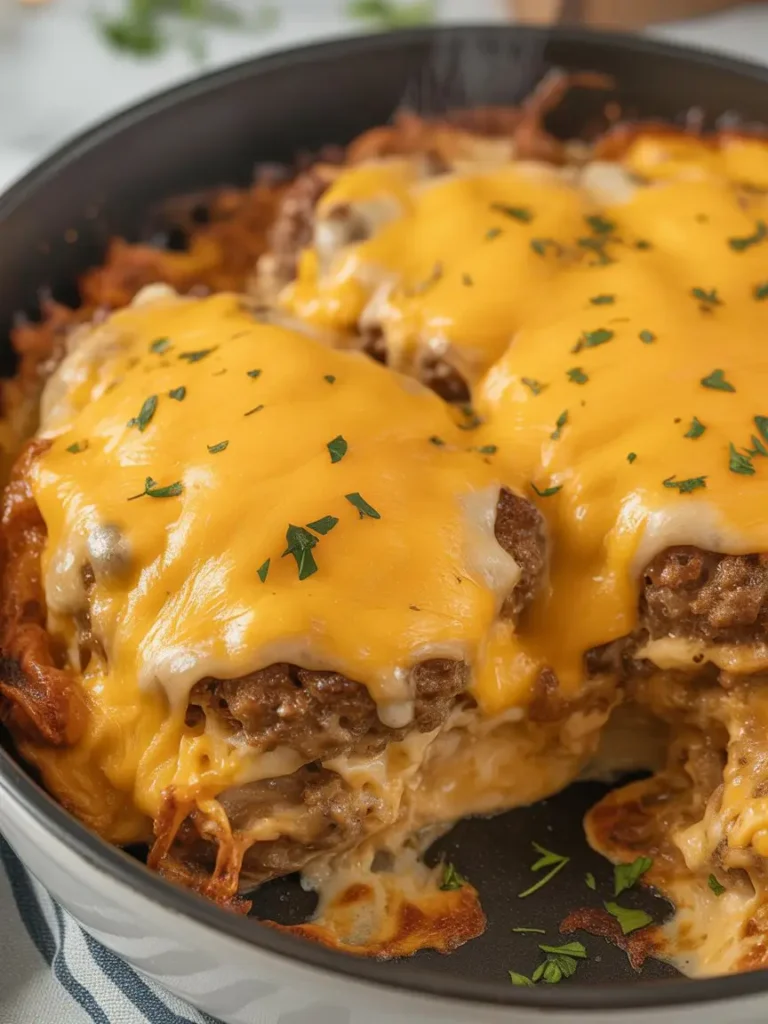
There are certain foods that just feel like a warm hug. For me, a sizzling pan of beef enchiladas, smothered in red sauce and draped in gloriously melted cheese, is at the top of that list.
It’s the kind of meal that makes a regular Tuesday feel like a celebration. For years, I thought making truly great enchiladas at home was a complicated, all-day affair reserved for restaurants.
I was so wrong. It turns out, the secret isn’t a long list of fancy ingredients or complex techniques. It’s about a few simple steps done right. This is the recipe that changed everything for me, and I have a feeling it will for you too.
What You’ll Need
Here’s a look at the ingredients that bring these incredible enchiladas to life. Don’t be intimidated by the list; it’s mostly common pantry staples.
For the Beef Filling:
- 1 tbsp Olive Oil
- 1 lb Ground Beef (85/15 is great)
- 1 medium Yellow Onion, finely chopped
- 3 cloves Garlic, minced
- 1 tsp Chili Powder
- 1 tsp Cumin
- 1/2 tsp Dried Oregano
- 1/2 tsp Salt
- 1/4 tsp Black Pepper
- 1/2 cup Beef Broth
- 2 tbsp Tomato Paste
For Assembly:
- 12 Corn Tortillas
- 1/4 cup Vegetable Oil (for softening tortillas)
- 28 oz Can Red Enchilada Sauce
- 3 cups Shredded Cheese (a mix of Cheddar and Monterey Jack is perfect)
- Optional Garnishes: Sour cream, chopped cilantro, sliced green onions, black olives
Pro Tips
I’ve made my share of subpar enchiladas over the years. Here are a few hard-won tips that will help you nail it on your first try.
- Don’t Skip Warming the Tortillas. This is the most important step! Cold, dry tortillas will crack and tear the second you try to roll them. A quick dip in hot oil makes them pliable and adds a little extra flavor.
- Shred Your Own Cheese. I know the pre-shredded bags are convenient, but they contain anti-caking agents like potato starch. This stuff prevents the cheese from melting into that smooth, gooey blanket you’re dreaming of. A block of cheese and a grater is your best friend here.
- Let Them Rest. Once the enchiladas come out of the oven, they will be molten hot and a bit fragile. Letting them rest for 5-10 minutes allows them to set. This makes them much easier to serve and helps the flavors meld together perfectly.
- Season in Layers. Don’t just dump all the spices in at once. Season the beef as it browns, then add more flavor with the broth and tomato paste. This builds a deeper, more savory filling.
Tools Required
You don’t need any high-tech gadgets for this recipe. Just some basic kitchen workhorses will do the trick.
| Tool | Purpose |
|---|---|
| Large Skillet | Cooking the beef filling |
| 9×13 Inch Baking Dish | For baking the enchiladas |
| Mixing Bowls | Holding cheese, sauce, etc. |
| Tongs | Handling hot tortillas |
| Box Grater | For shredding cheese |
Substitutions and Variations
One of the best things about enchiladas is how easy they are to customize. Here are a few ideas to get you started.
- Protein Swap: Not a fan of beef? Ground chicken, turkey, or even shredded rotisserie chicken works beautifully. For a vegetarian version, use a mix of black beans and crumbled firm tofu.
- Tortilla Talk: While corn tortillas are traditional, you can absolutely use flour tortillas. They create a softer, more burrito-like texture.
- Cheese Please: Feel free to experiment with cheese. Pepper Jack adds a nice kick, while a sprinkle of Cotija cheese on top after baking gives a salty, authentic finish.
- Spice it Up: If you like more heat, add a chopped jalapeño to the pan with the onion, or mix a bit of canned chipotle in adobo sauce into the beef filling.
Make-Ahead Tips
This recipe is perfect for prepping ahead of time, which is a lifesaver on busy weeknights.
You can make the beef filling up to 3 days in advance and store it in an airtight container in the fridge. When you’re ready to eat, just warm it up slightly before assembling.
You can also fully assemble the enchiladas (without the final layer of sauce and cheese on top) a day ahead. Cover the baking dish tightly with plastic wrap and refrigerate. When it’s time to bake, add the top layer of sauce and cheese and add about 10-15 minutes to the baking time.
How to Make Beef Enchiladas: Step-by-Step
Let’s get cooking. Follow these simple steps for perfect enchiladas every time.
Step 1: Preheat your oven to 375°F (190°C). Pour about 1/2 cup of the enchilada sauce into the bottom of your 9×13 inch baking dish and spread it around to coat the bottom. This prevents the enchiladas from sticking.
Step 2: In a large skillet, heat the olive oil over medium-high heat. Add the chopped onion and cook until it starts to soften, about 3-4 minutes. Add the ground beef and break it up with a spoon. Cook until it’s browned all over.
Step 3: Drain off any excess grease from the skillet. Add the minced garlic, chili powder, cumin, oregano, salt, and pepper. Stir and cook for about a minute until fragrant.
Step 4: Stir in the beef broth and tomato paste. Bring the mixture to a simmer and let it cook for 5-7 minutes, allowing the sauce to thicken and the flavors to come together. Set it aside.
Step 5: Prepare the tortillas. Pour the vegetable oil into a small skillet over medium heat. Using tongs, dip each tortilla in the hot oil for just 10-15 seconds per side. You just want to soften it, not fry it crispy. Place the softened tortillas on a plate lined with paper towels.
Step 6: Set up your assembly line. You’ll need the baking dish, softened tortillas, beef filling, enchilada sauce in a shallow bowl, and shredded cheese.
Step 7: Dip one softened tortilla into the enchilada sauce, coating both sides. Place it on a clean plate. Spoon about 1/4 cup of the beef filling down the center and sprinkle with a little cheese.
Step 8: Roll the tortilla up snugly and place it seam-side down in your prepared baking dish. Repeat with the remaining tortillas until the dish is full.
Step 9: Pour the rest of the enchilada sauce evenly over the top of the rolled tortillas. Sprinkle the remaining shredded cheese all over the top.
Step 10: Bake for 20-25 minutes, or until the sauce is bubbly and the cheese is melted and slightly golden. Let it rest for 5-10 minutes before serving. Garnish with your favorite toppings and enjoy!
Nutritional Info, Pairings, and More
Let’s talk about how to fit this meal into your lifestyle and make it even better.
| Consideration | Suggestion |
|---|---|
| Lower Carb | Use low-carb tortillas or serve the filling over cauliflower rice. |
| Meal Pairing | Serve with Spanish rice, refried beans, or a simple avocado salad. |
| Efficiency Tip | Chop all your veggies and measure your spices before you start cooking. |
| Nutrition (Approximate) | Per enchilada: 350-400 calories, depending on cheese and beef fat. |
Leftovers and Storage
If you’re lucky enough to have leftovers, they are fantastic the next day. The flavors have even more time to settle in.
Store any remaining enchiladas in an airtight container in the refrigerator for up to 4 days. You can reheat individual portions in the microwave, or reheat the entire pan in a 350°F oven until warmed through.
Frequently Asked Questions
Q1. My corn tortillas always break when I roll them. What am I doing wrong?
Ans: This is the most common issue! It’s almost always because the tortillas are too cold or dry. The quick dip in hot oil is the best fix. If you want to avoid oil, you can wrap a stack of tortillas in a damp paper towel and microwave them for 30-60 seconds until they are warm and steamy.
Q2. Can I freeze these beef enchiladas?
Ans: Yes, they freeze wonderfully. For best results, assemble them in a freezer-safe dish but don’t bake them. Cover tightly with two layers of plastic wrap and a layer of foil. They can be frozen for up to 3 months. To bake, thaw overnight in the fridge, then bake as directed (you may need to add 10-15 minutes).
Q3. Can I use a different kind of enchilada sauce?
Ans: Absolutely. While this recipe uses red sauce (roja), you can easily swap it for green sauce (verde), which is made with tomatillos and has a tangier flavor. It’s a delicious variation!
Wrapping Up
There you have it—a straightforward, no-fuss guide to making restaurant-quality beef enchiladas right in your own kitchen. It’s a meal that’s comforting, satisfying, and impressive enough for guests.
I truly hope you give this recipe a try. There’s nothing better than pulling that bubbling, cheesy pan out of the oven.
If you make them, please come back and leave a comment below. I’d love to hear how they turned out for you or if you discovered any fun variations of your own!

