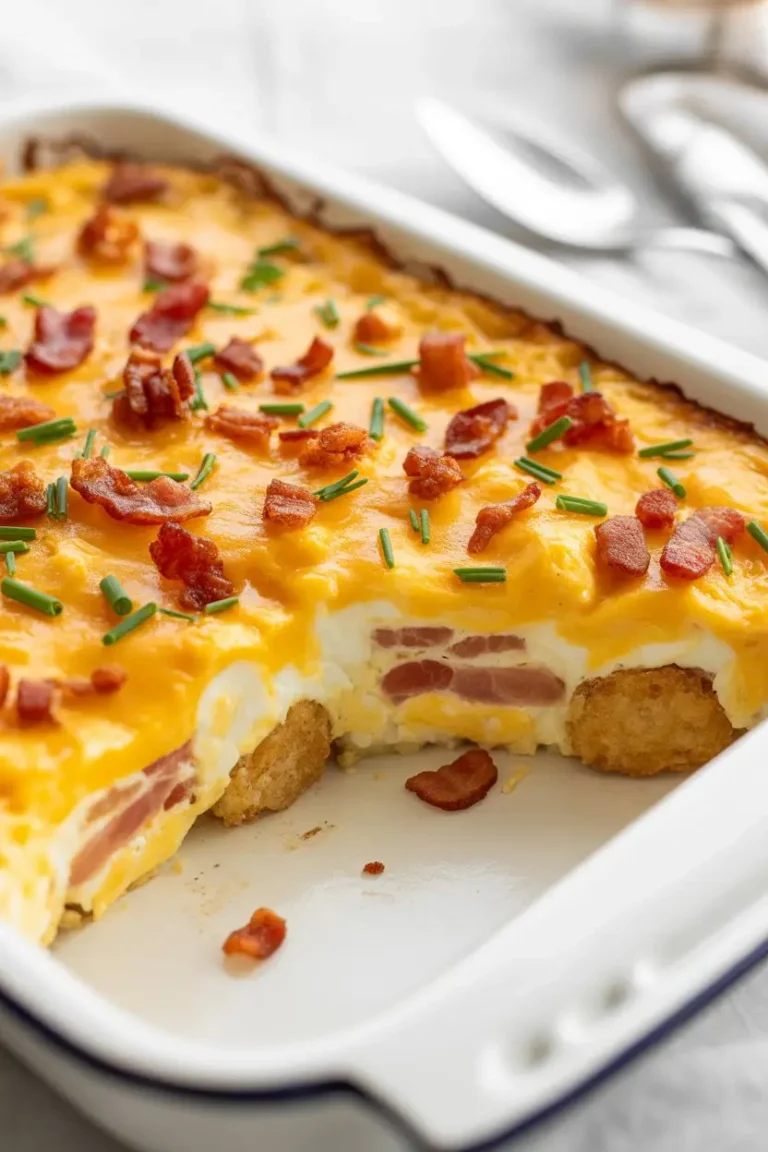
Layered Cheeseburger French Fry Bake
“`html
The Ultimate Comfort Food: My Layered Cheeseburger French Fry Bake
There are nights when the dinner debate in my house is fierce. Half of us want juicy cheeseburgers, the other half are craving a giant pile of crispy, salty french fries.
For a long time, that meant firing up the grill and the deep fryer. It was a whole production. Then one evening, a brilliant, lazy idea struck me: why not combine them?
What if you could have all the savory, cheesy goodness of a burger, layered with the comforting crunch of fries, all baked into one glorious casserole? A dish you can scoop onto a plate and devour on the couch without a single bun falling apart.
This Layered Cheeseburger French Fry Bake is the answer. It’s the peacekeeper of dinnertime, the hero of potlucks, and honestly, just a ridiculously delicious way to enjoy two classics at once. It’s hearty, satisfying, and way easier to make than you might think.
What You’ll Need
The beauty of this recipe is its simplicity. You’re using classic, easy-to-find ingredients to create something spectacular. No need for a special trip to a gourmet store.
- Ground Beef: One pound of 80/20 ground chuck is perfect. It has enough fat for flavor but won’t make the dish overly greasy.
- Frozen French Fries: A 28-32 ounce bag works best. I’m partial to crinkle-cut fries because they have great texture and hold up well to the layering.
- Sharp Cheddar Cheese: Two cups, freshly shredded. Please, shred your own! It melts a million times better than the pre-shredded kind.
- Yellow Onion: One medium onion, finely diced. This adds that essential savory base.
- Dill Pickles: About a half-cup of chopped dill pickles. They provide a tangy crunch that cuts through the richness.
- Bacon: Four to five strips, cooked until crispy and then crumbled. This is optional, but is it really?
- For the “Special Sauce”:
- 1/2 cup Mayonnaise
- 1/4 cup Ketchup
- 1 tablespoon Yellow Mustard
- 1 tablespoon Dill Relish or finely chopped pickles
- 1 teaspoon White Vinegar
- 1/2 teaspoon Garlic Powder
- 1/2 teaspoon Onion Powder
- Seasonings: Salt and black pepper to taste.
Pro Tips
I’ve made this bake more times than I can count. Along the way, I’ve discovered a few little tricks that take it from good to absolutely foolproof. Don’t skip these!
- Par-Bake Your Fries First. This is the most important tip! Tossing frozen fries directly into a casserole can lead to a sad, soggy bottom layer. Giving them a 15-minute head start in the oven ensures they stay structured and get crispy, even after being layered with the beef and cheese.
- Drain That Beef Well. After you cook the ground beef and onions, you’ll see some rendered fat in the skillet. You need to drain as much of it as possible. Tilt the pan and use a spoon to scoop it out. Excess grease will pool at the bottom of your baking dish, and nobody wants that.
- Let It Rest Before Serving. I know, it’s torture. The bake will come out of the oven bubbly and smelling incredible. But if you cut into it immediately, it will be a glorious mess. Letting it sit on the counter for 5-10 minutes allows the cheese and layers to set up, so you can serve clean, beautiful portions.
- Fresh Toppings are Key. The final touch makes all the difference. After the bake comes out of the oven, top it with fresh, cold ingredients like shredded iceberg lettuce and diced tomatoes. The contrast in temperature and texture is what truly mimics the cheeseburger experience.
Tools Required
You likely have everything you need for this recipe already. It’s a standard kitchen affair.
- 9×13 inch Baking Dish
- Large Skillet
- Baking Sheet
- Mixing Bowls (one medium, one small)
- Spatula or Wooden Spoon
- Knife and Cutting Board
- Cheese Grater
| Tool | Purpose |
|---|---|
| 9×13 Baking Dish | The casserole’s home |
| Large Skillet | For cooking the beef |
| Baking Sheet | To par-bake the fries |
Substitutions and Variations
This recipe is a fantastic starting point. Feel free to get creative and make it your own based on what you love or have on hand.
- Meat Swaps: Not a beef fan? Ground turkey or ground chicken work great. You could even use a plant-based ground for a vegetarian version.
- Fry Frenzy: Waffle fries create awesome pockets for the toppings. Sweet potato fries add a lovely sweet and savory element. Even tater tots are a fun and delicious substitute.
- Cheese Please: Don’t feel locked into cheddar. Pepper Jack would add a nice kick. A mix of Colby and Monterey Jack would be extra melty. Smoked gouda could add a sophisticated, smoky flavor.
- Add-In Ideas: Think about your favorite burger toppings. Sautéed mushrooms, caramelized onions, or diced jalapeños would be amazing mixed in with the beef layer.
Make-Ahead Tips
If you’re planning for a busy weeknight, you can definitely do some prep in advance.
The ground beef mixture can be cooked, drained, and stored in an airtight container in the refrigerator for up to 2 days. The special sauce can also be mixed and kept in the fridge.
When you’re ready to eat, just par-bake the fries and assemble the casserole as directed. This little bit of prep can turn a 45-minute process into a 25-minute one.
How to Make Layered Cheeseburger French Fry Bake
Here’s the step-by-step breakdown. It’s all about the layers!
Step 1: Preheat your oven to 425°F (220°C). Spread the frozen french fries in a single layer on a large baking sheet. Bake for 15 minutes to get them lightly crisped.
Step 2: While the fries are baking, place a large skillet over medium-high heat. Add the ground beef and the diced onion. Cook, breaking up the meat with a spatula, until the beef is browned and the onions are soft. Season with salt and pepper.
Step 3: Drain the excess fat from the skillet very thoroughly. Stir in the crumbled bacon and chopped dill pickles. Set the mixture aside.
Step 4: In a small bowl, whisk together all the “Special Sauce” ingredients: mayonnaise, ketchup, mustard, relish, vinegar, garlic powder, and onion powder. Mix until smooth.
Step 5: Now it’s time to build your masterpiece. Grab your 9×13 inch baking dish. Create the first layer by arranging half of the par-baked french fries across the bottom.
Step 6: Spoon the entire ground beef mixture evenly over the fries.
Step 7: Drizzle about half of the special sauce over the beef layer. Then, sprinkle one cup of the shredded cheddar cheese on top.
Step 8: Arrange the remaining french fries on top of the cheese. Drizzle with the rest of the sauce and top with the final cup of shredded cheese.
Step 9: Place the baking dish in the oven and bake for 15-20 minutes, or until the cheese is completely melted and bubbly and the edges are golden brown.
Step 10: Remove from the oven and let it rest for 5-10 minutes. Top with optional fresh toppings like shredded lettuce or diced tomatoes before serving.
Nutrition, Diets, and Pairings
This is a hearty dish, but you can easily tweak it to fit different dietary needs. It’s all about smart swaps.
| Dietary Need | Suggested Swap |
|---|---|
| Vegetarian | Use plant-based ground “meat” |
| Dairy-Free | Use dairy-free cheese shreds and mayo |
| Lower Carb | Swap fries for roasted cauliflower florets |
| Lighter Version | Use 93/7 ground turkey and reduced-fat cheese |
Nutritional Information: This can vary greatly based on your specific ingredients, but a rough estimate per serving (if the dish is divided into 8 servings) is around 550-650 calories, 30g protein, 35g carbs, and 35g fat. It’s a full meal in one scoop!
Meal Pairing Suggestions: Since the bake is so rich and savory, I love pairing it with something light and fresh. A simple side salad with a vinaigrette dressing is perfect. Steamed green beans or a side of coleslaw also work beautifully to cut through the richness.
Cooking Time Efficiency: To make things move faster, use the oven preheating and fry-baking time to your advantage. While the fries are in their first bake, you can cook the beef, mix the sauce, and shred the cheese. By the time the fries are ready, all your other components will be prepped for assembly.
Leftovers and Storage
If you somehow have leftovers, they are fantastic the next day.
Store any remaining bake in an airtight container in the refrigerator for up to 3 days.
To reheat, the oven or an air fryer is your best friend. A microwave will work in a pinch, but it will make the fries soft. For the best texture, reheat at 350°F (175°C) for 10-15 minutes, or until warmed through. This helps re-crisp the fries.
Frequently Asked Questions
Q1. Can I use homemade french fries instead of frozen?
Ans: Absolutely! If you’re making them from scratch, I’d recommend cutting the potatoes and frying or air-frying them until they are fully cooked and crispy before layering them into the casserole. You’ll skip the par-baking step in that case.
Q2. My casserole came out greasy. What did I do wrong?
Ans: This usually comes down to two things: the fat content in your beef and not draining it well enough. Using a leaner ground beef (like 90/10) can help, but the most crucial step is to be very thorough when draining the fat from the skillet after browning the meat.
Q3. Can I assemble this ahead of time and bake it later?
Ans: You can, but with a warning. If you assemble it completely and let it sit in the fridge for hours, the fries on the bottom layer might get a little soft. For best results, I recommend the “Make-Ahead Tips” above—prep the components separately and assemble just before baking.
Q4. Can this recipe be frozen?
Ans: Yes, it freezes surprisingly well. I’d recommend assembling the casserole in a freezer-safe dish, but don’t bake it. Cover it tightly with a double layer of foil and freeze for up to 3 months. When ready to eat, you can bake it from frozen at 375°F (190°C) for about 60-75 minutes, or until hot and bubbly. Keep it covered with foil for the first 45 minutes, then uncover for the final 20-30 minutes to brown the top.
Wrapping Up
This Layered Cheeseburger French Fry Bake has become a true staple in my home. It’s the kind of meal that gets everyone excited for dinner. It’s comforting, packed with flavor, and brings together two of the world’s most-loved foods in a fun new way.
It’s perfect for a game day, a family gathering, or just a Tuesday night when you need something extra delicious. The steps are simple, the ingredients are humble, and the result is just pure, unadulterated comfort food.
Give it a try! I’d love to hear how it turns out for you. Did you make any fun substitutions? Did the family love it? Drop a comment below and let me know!
“`


