Chicken Feet Bone Broth for Dogs

You know that feeling when your dog looks at their regular kibble like it’s cardboard?
I’ve been there. My neighbor’s Labrador went through this exact phase last month – turning his nose up at everything we offered. That’s when I remembered something my grandmother used to say: “When all else fails, make broth.”
But here’s the thing… making chicken feet bone broth for dogs isn’t just about getting a picky eater to chow down. It’s about giving your furry family member a superfood that’s been quietly working miracles for thousands of years.
Those weird-looking chicken feet you might cringe at? They’re actually little collagen goldmines that can transform into a gelatinous, nutrient-packed elixir your dog will go absolutely nuts for.
What You’ll Need
For the Broth:
- 2-3 pounds raw chicken feet (nails can stay on – they’ll soften during cooking)
- 2 medium carrots, roughly chopped
- 2 celery stalks, roughly chopped
- 1 inch fresh ginger, sliced (optional but great for digestion)
- 2-3 tablespoons apple cider vinegar
- 12-16 cups filtered water (enough to cover ingredients by 2 inches)
Optional Immune-Boosting Add-ins:
- 1 inch fresh turmeric, chopped
- 2-3 sprigs fresh parsley
- 1/4 cup dried shiitake mushrooms
Essential Tools for Success
- Large stockpot or slow cooker (6-8 quart capacity)
- Fine mesh strainer or cheesecloth
- Large bowl for straining
- Mason jars or airtight containers for storage
- Ice cube trays (trust me on this one)
- Ladle
- Tongs for removing bones safely
Ultimate Pet Care Bundle
Everything You Need for a Happy, Healthy Pet
Pro Tips from Years of Broth-Making
Start with Quality Feet: I get mine from local farms or Asian markets where they’re usually much fresher and cheaper than grocery stores. Don’t worry if they look gnarly – that’s exactly what you want for maximum collagen.
The Vinegar Secret: Apple cider vinegar isn’t just trendy nonsense. It actually helps pull minerals from the bones. Let the feet sit in the acidulated water for 15-20 minutes before cooking – this is your prep time to chop veggies.
Low and Slow Wins the Race: High heat will give you cloudy broth with less gelatin. Keep it at the gentlest simmer – you should see just a few lazy bubbles breaking the surface.
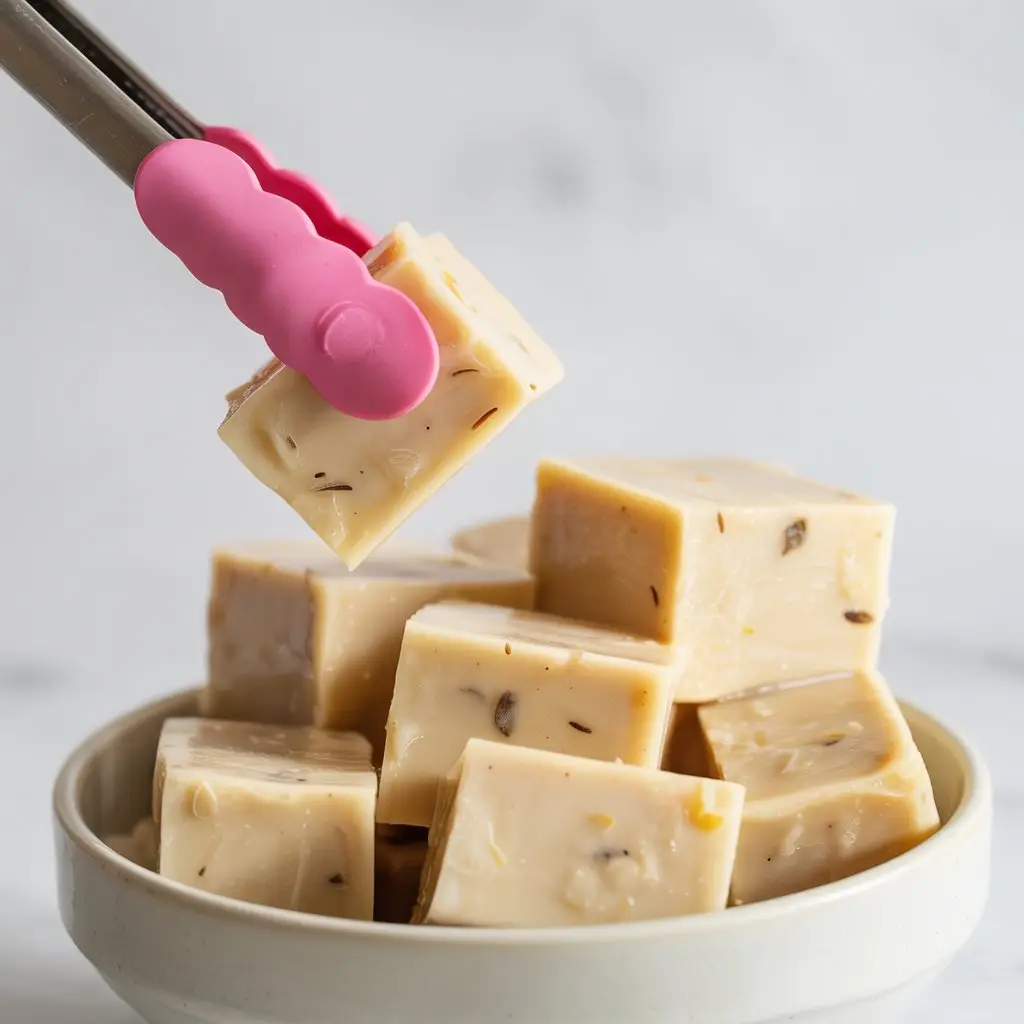
The Jiggle Test: Good bone broth should look like jello when cold. If it doesn’t set up, you either didn’t cook it long enough or need more feet next time.
Strain Twice: First through a regular strainer to catch the big stuff, then through cheesecloth or fine mesh to get crystal-clear broth.
Substitutions and Variations
No Chicken Feet? Use 2 pounds of chicken necks, backs, or wings instead. Add 4-6 chicken feet if you can find them for that extra gelatin boost.
Pressure Cooker Version: Use an Instant Pot on high pressure for 4 hours with natural release. You’ll need less water – just enough to cover by 1 inch.
Beef Bone Alternative: Swap for beef marrow bones, oxtail, or knuckle bones. Roast them first at 400°F for 45 minutes for deeper flavor.
Veggie Swaps: Try parsnips instead of carrots, or add kale stems for extra nutrients. Skip anything from the onion family – that’s toxic to dogs.
Make-Ahead Magic
This recipe actually gets better with planning. You can prep everything the night before and start your slow cooker in the morning. By dinner time, your house will smell incredible and your dog will be following you around with hopeful eyes.
Freeze portions in ice cube trays for easy serving sizes. One cube is perfect for small dogs, 2-3 cubes for medium dogs, and 4-6 for large breeds.
Step-by-Step Instructions
Prep Phase (15 minutes):
- Rinse chicken feet under cold water and place in your cooking vessel
- Add apple cider vinegar and let sit for 15-20 minutes while you prep vegetables
- Roughly chop carrots and celery – don’t stress about perfect cuts since you’ll strain everything out
- Slice ginger and any other add-ins
Cooking Phase (6-24 hours): 5. Add all vegetables and aromatics to the pot with the feet 6. Cover everything with filtered water by about 2 inches 7. Bring to a gentle boil over medium-high heat, then immediately reduce to low 8. Skim off any foam that rises to the surface during the first 30 minutes 9. Cover and simmer for 6-8 hours minimum (stovetop) or 12-24 hours (slow cooker on low) 10. Check occasionally and add more water if needed to keep bones covered
Finishing Phase (30 minutes): 11. Remove from heat and let cool slightly for safe handling 12. Use tongs to remove large bones and vegetables – never give cooked bones to dogs 13. Strain through fine mesh strainer into a large bowl 14. For crystal-clear broth, strain again through cheesecloth 15. Let cool to room temperature, then refrigerate
Nutritional Powerhouse Details
Protein Content: Approximately 11g per cup – mostly from collagen and gelatin that support joint health and skin condition.
Key Minerals: High in calcium (54mg per cup), phosphorus, magnesium, and trace minerals pulled from the bones during long cooking.
Glycine and Proline: These amino acids support gut healing and may help with digestive issues like diarrhea or constipation.
Glucosamine and Chondroitin: Natural joint support compounds that become more bioavailable through the slow cooking process.
For Special Diets:
- Kidney Disease: Use sparingly due to phosphorus content – consult your vet first
- Heart Conditions: This recipe is naturally low-sodium, but monitor total fluid intake
- Allergies: Perfect for elimination diets since it’s single-protein and additive-free
Calorie-Conscious: At about 124 calories per cup, it’s a nutritious way to add moisture and flavor without excessive calories.
Smart Serving Suggestions
Mix with regular kibble to create a “gravy” that makes even the cheapest dog food irresistible. I use about 1/4 cup per 25 pounds of dog weight.
Freeze in Kong toys for a long-lasting treat that keeps dogs busy for hours. Add some dog-safe vegetables for extra enrichment.
Use as a base for homemade dog food recipes – it’s perfect for cooking quinoa or sweet potatoes that need extra flavor.
Leftovers and Storage Solutions
Refrigerator: Keeps for up to one week in airtight containers. The fat will solidify on top – you can remove it or leave it for extra calories.
Freezer: Stores beautifully for up to 6 months. I portion mine into:
- Ice cube trays for small servings
- Mason jars with 2-inch headspace to prevent cracking
- Freezer bags laid flat for space-saving storage
Daily Use: Warm slightly before serving if your dog prefers it, or serve chilled on hot days. Most dogs love it either way.
Safety Note: Always thaw frozen portions completely and use within 3 days once thawed.
Frequently Asked Questions
Q: My broth didn’t gel – did I mess up? A: Not necessarily! Gelatin content varies with the age of the chicken and cooking time. It’s still nutritious even if it doesn’t set. Try cooking longer next time or adding more feet.
Q: Should I remove the toenails from chicken feet? A: Nope! They’ll soften completely during cooking and add minerals. Some people clip them, but it’s unnecessary extra work.
Q: Can I use frozen chicken feet? A: Absolutely! Add them straight to the pot frozen and add 30 minutes to your cooking time.
Q: How much should I give my dog daily? A: Start with 1/4 cup per 25 pounds of body weight. You can give it daily as long as your dog tolerates it well.
Q: My broth smells funny – is that normal? A: If it smells strongly “feet-like,” try blanching the feet in boiling water for 30 seconds and rinsing before starting. This removes any residual dirt or strong odors.
Q: Can I pressure can this broth? A: Yes! Follow safe pressure canning guidelines for low-acid foods if you have the skills and equipment.
Q: What if my dog has food allergies? A: This is perfect for dogs with protein sensitivities since it’s single-ingredient. Just skip any vegetables your dog can’t tolerate.
Wrap Up
Here’s the bottom line: your dog deserves better than whatever’s in those expensive store-bought bone broths (which are usually loaded with salt and preservatives anyway).
This homemade version costs a fraction of the price, tastes a million times better, and gives you complete control over every ingredient that goes into your pup’s bowl.
Plus, there’s something deeply satisfying about watching your dog’s eyes light up when they smell that rich, savory aroma wafting from their dinner bowl. It’s like watching them discover treasure.
The best part? Once you nail this recipe, you’ll never go back to store-bought anything. Your dog will become your biggest fan, and you’ll have that warm, fuzzy feeling that comes from knowing you’re giving them the absolute best.
So grab some chicken feet this weekend and give it a try. Your dog’s tail-wagging approval will tell you everything you need to know.
Drop a comment below and let me know how your broth turned out! Did your dog go as crazy for it as mine did? Any creative ways you’ve been serving it? I love hearing about other dog parents’ success stories.


