Blackberry Beef Jerky Recipe for Dogs

Ok, so here’s the deal.
You’ve probably looked down at your pup once or twice and thought, “Dang. You deserve better than those generic bag treats with names I can’t pronounce.” And if you haven’t yet, don’t worry—you’re about to.
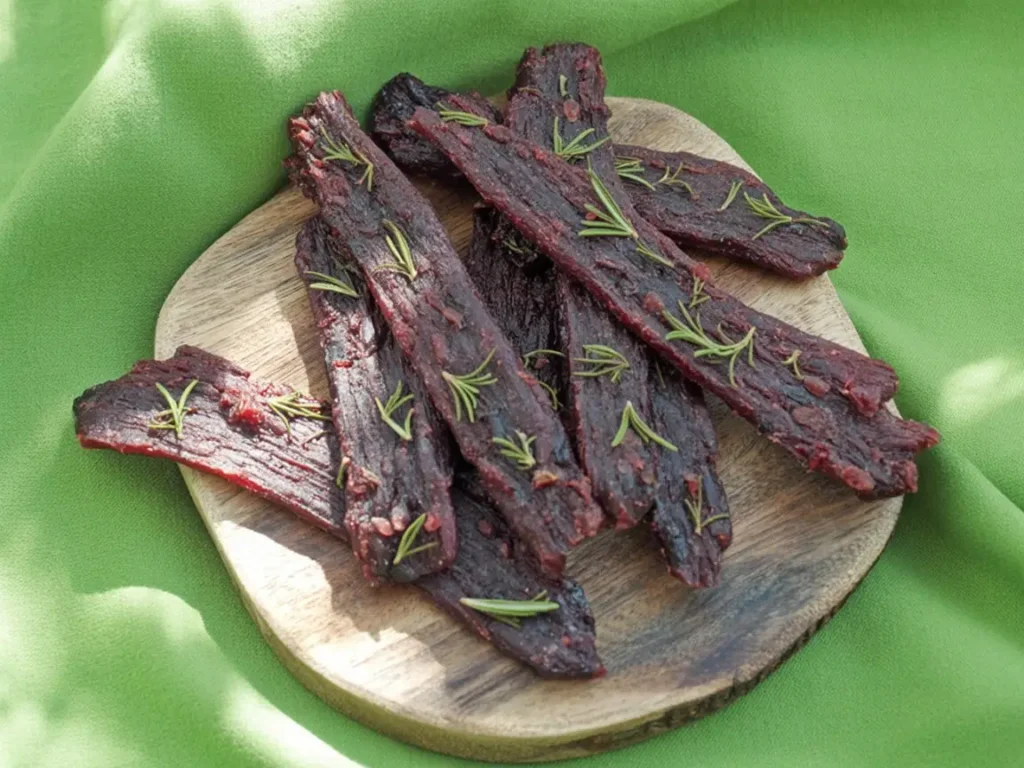
Because I’m about to show you how to make a blackberry beef jerky recipe so good, your dog will literally sit, stay, and roll over for it. Voluntarily. Without a single command.
And don’t stress if you’ve never made jerky before—this is beginner-friendly and very forgiving. It’s also grain-free, dairy-free, gluten-free, and free from weird fillers that sound like they were made in a lab.
You’re just a few simple ingredients away from becoming your dog’s favorite chef. Let’s get into it.
What You’ll Need
Ingredients:
- ½ to 1 pound of lean beef steak (sirloin, flank, or whatever is on sale and not overly fatty)
- 1 cup of blackberries (fresh or thawed from frozen)
- ½ tablespoon rosemary (dried or fresh—both work fine)
- 2 cups water
- A sprinkle of ground ginger (you won’t need a lot, but it gives the jerky a kick)
And that’s it. No mystery ingredients, no artificial anything, and no guilt.
Tools You’ll Want On Hand
- Sharp knife (not the dull one you use to open Amazon boxes)
- Cutting board
- Blender or food processor
- Mixing bowl
- Baking sheet
- Parchment paper (for easier cleanup, unless you’re into scrubbing—no judgment)
- Oven (or food dehydrator if you’ve got one)
- Fridge space for marinating (and probably some backup snacks you’ll want while the jerky’s drying)
Why Your Dog (and You) Will Love This
Here’s why this works so well: blackberries are rich in antioxidants, fiber, and vitamin C, which is great for your pup’s immune system. Rosemary helps with digestion and inflammation. And beef? That’s protein, baby.
Plus, if your dog’s been feeling a little sluggish or snack-deprived, this is a nice way to surprise them with something you actually made with love.
Now I’ll be honest—your kitchen might smell a little meaty for a few hours, but when you see those happy tail wags? Totally worth it.
Pro Tips Before You Dive In
1. Freeze the Beef a Bit First
No joke, slicing partially frozen beef is way easier than wrestling with soft, wobbly meat. Stick it in the freezer for 20 to 30 minutes. It’ll firm up just enough to make slicing a breeze.
2. Cut Against the Grain
This just means you want to slice the beef in the opposite direction of the muscle fibers. Why? Because it makes the jerky easier to chew—for both your pup and any humans who may “accidentally” try a piece. (It happens.)
3. Don’t Overload the Ginger
A little goes a long way. It’s there for digestive support and flavor, but we’re not trying to spice things up too much. Sprinkle lightly.
4. Let It Marinate
Sure, an hour is good. But if you really want to punch up the flavor, let it soak overnight in the fridge. The blackberry and rosemary will infuse right into the beef. Your pup will notice. Promise.
5. Crack the Oven Door
When drying the jerky, leave the oven door slightly open (if you don’t have a dehydrator). This helps the moisture escape and gives you that dry, chewy texture you’re going for. No soggy jerky here.
Substitutions and Swaps (Because We’re All About Options)
- Out of beef? You can use chicken breast or turkey instead. Just make sure it’s lean and sliced thin.
- No blackberries? Blueberries, raspberries, or even unsweetened applesauce will do in a pinch. Just make sure they’re dog-friendly and sugar-free.
- Can’t find rosemary? Use parsley or thyme. Avoid anything toxic to dogs like onions or garlic. (I know you know, but just sayin’.)
- Low on ginger? You can skip it, or use turmeric for an anti-inflammatory boost.
This recipe is pretty flexible, so feel free to experiment once you’re comfortable with the basics.
Let’s Make the Jerky (Step-by-Step)
Step 1: Slice the Beef Trim off any visible fat—it doesn’t dry well and can make your jerky go rancid faster. Slice the beef into ¼ inch thick strips. Try to keep them even so they cook and dry at the same rate.
Step 2: Blend the Marinade In a blender or food processor, toss in your blackberries, rosemary, and water. Blend until it’s smooth and pourable.
Step 3: Marinate Place your beef strips in a mixing bowl or zip-top bag. Pour the marinade over it and make sure every piece is coated. Cover and pop it in the fridge for at least an hour—or overnight if you’ve got the time and patience.
Step 4: Prep the Oven Preheat your oven to 180°F. Line your baking sheet with parchment paper.
Step 5: Arrange and Sprinkle Lay your marinated beef strips on the baking sheet, leaving space between each one. Sprinkle the tops with a little ground ginger. Just a pinch.
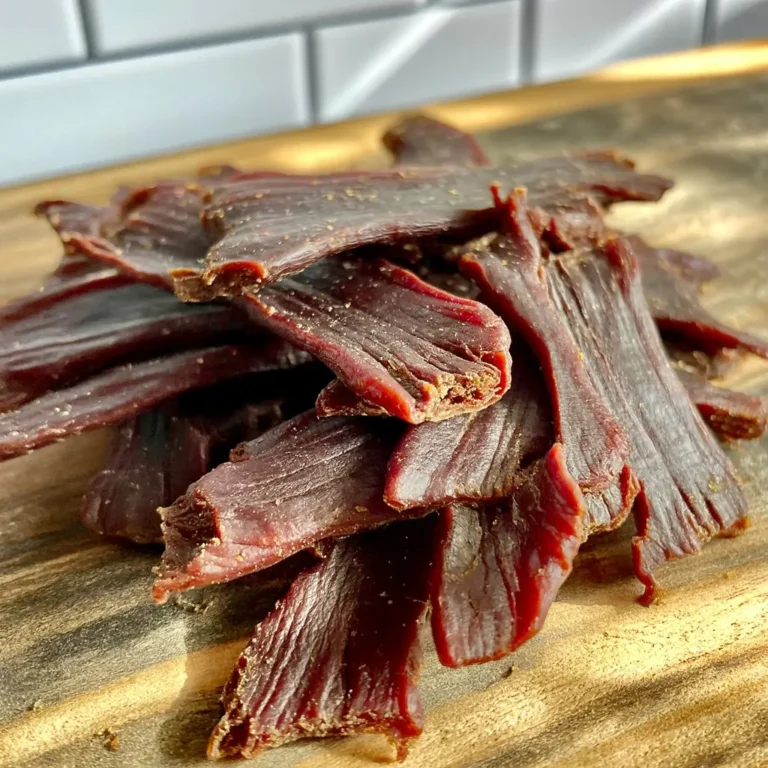
Step 6: Dry It Out Put the tray in the oven and leave the door slightly cracked. Let the jerky dry for 3 to 4 hours, flipping once halfway through. You’ll know it’s done when the pieces are dry to the touch and slightly chewy.
Step 7: Cool and Store Take the jerky out and let it cool completely. Store it in an airtight container in the fridge. If you want to stockpile, it freezes well too.
Leftover Storage Tips
If you’re wondering how long this stuff lasts, the answer is: not long… because your dog will probably beg for it nonstop.
But in practical terms:
- Fridge: Up to 2 weeks in an airtight container.
- Freezer: 2 to 3 months. Just thaw before serving.
- Room Temp? Not recommended unless it’s fully dehydrated like commercial jerky. Better safe than sorry.
Want to Make It Fit Specific Diets?
This recipe is naturally:
- Grain-free
- Gluten-free
- Dairy-free
- No added sugar or salt
If your dog has allergies or a sensitive stomach, this is a great clean treat to test out. Just be sure to introduce any new food slowly, and always check with your vet if you’re unsure.
Pair It With…
Let’s say you’re making this for a special occasion—like your pup’s birthday or just because they were extra cute today (it happens). You can pair this jerky with:
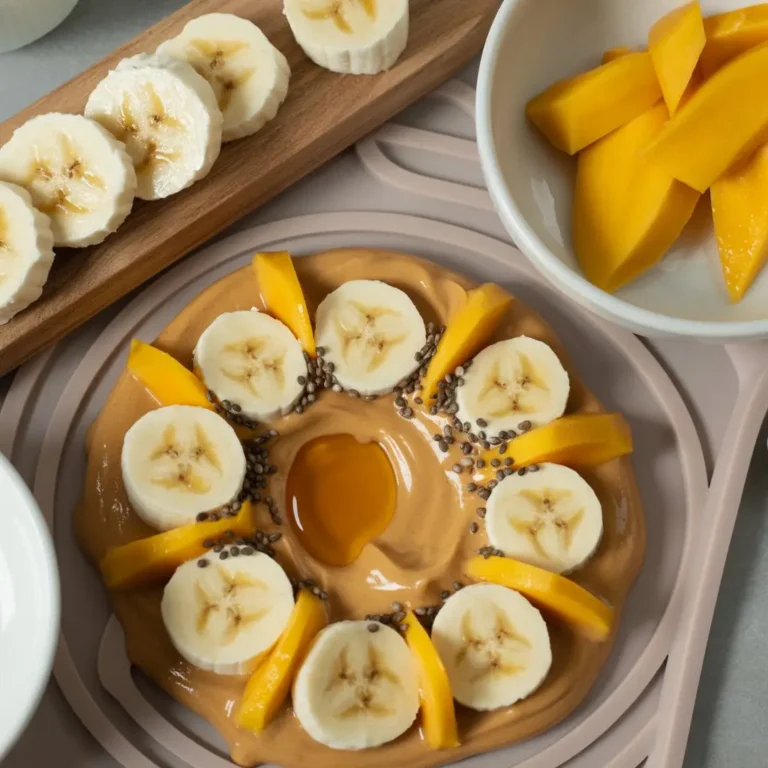
- Homemade frozen banana-yogurt cubes
- Sweet potato chews
- Pumpkin peanut butter biscuits
Keep the whole treat experience balanced by combining chewy, crunchy, and cooling textures.
Frequently Asked Questions
Can I eat this myself? Technically, yes. There’s nothing harmful in here for humans. But it’s not seasoned like human jerky, so don’t expect it to taste like the peppered teriyaki stuff from the gas station. It’s for the pup.
Do I need a dehydrator? Nope. An oven works just fine. But if you do have a dehydrator, feel free to use it and follow the manufacturer’s instructions for meat drying.
Is this safe for puppies? Yes, but cut the jerky into tiny, soft pieces for younger pups. Always supervise during treat time.
Can I double the recipe? Absolutely. Just make sure you’ve got enough tray space and time for the drying process. More jerky, more joy.
Wrap Up
So that’s it! You’ve officially joined the ranks of dog parents who make homemade jerky. Look at you. Proud moment.
If your pup licks the bowl, begs by the oven, or gives you that satisfied sigh after chomping down—mission accomplished.
And hey, if you do end up making this recipe, leave a comment and let me know how it went. Did your dog love it? Did you try a cool variation? Got questions? I’m all ears.
Now go make that jerky. You’ve got a dog to impress. 🐾


