Ok, first off—if you’re here looking for a dog treat recipe, you clearly care about your furry friend and want to give them something better than those mystery meat pellets from the pet store.
So can I just say… that’s awesome.
I mean, our dogs deserve good stuff. They put up with our weird voices, our bad dance moves, and whatever that was we ate last night that smelled like sadness and regret. They deserve love. And treats. Preferably homemade ones made with stuff we can actually pronounce.
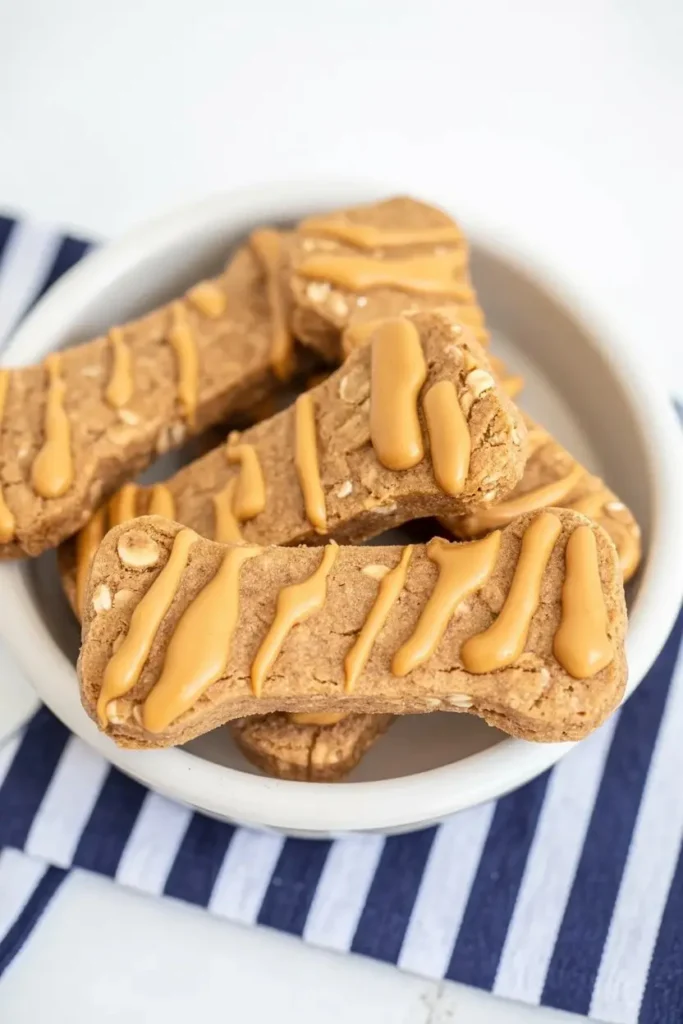
So today, I’m sharing a dog cookie recipe that’s super simple and packed with ingredients your pup will love. We’re talking about peanut butter, honey, flour, and a few other basics that are probably already in your kitchen.
Let’s dive in.
What You’ll Need
These are the ingredients you’ll need for these dog cookies. Nothing fancy. No protein powder made of yak’s milk. Just real stuff.
Ingredients:
- 1½ cups whole wheat flour (or oat flour if your dog’s tummy is a bit dramatic)
- ½ cup natural peanut butter (check the label—no xylitol, ever)
- ¼ cup honey (for a little sweetness and a whole lotta shine)
- 1 large egg (hold the shell, obviously)
- ¼ cup water (add more or less depending on the dough)
That’s it. You could probably mix these with your eyes closed. Not recommending that, but… you could.
Tools You’ll Want to Have
Nothing wild here. If you’ve ever made cookies before, you probably already have everything you need. And even if you haven’t, you’ll be fine.
- One large mixing bowl
- Measuring cups and spoons
- A rolling pin (or honestly, a wine bottle in a pinch)
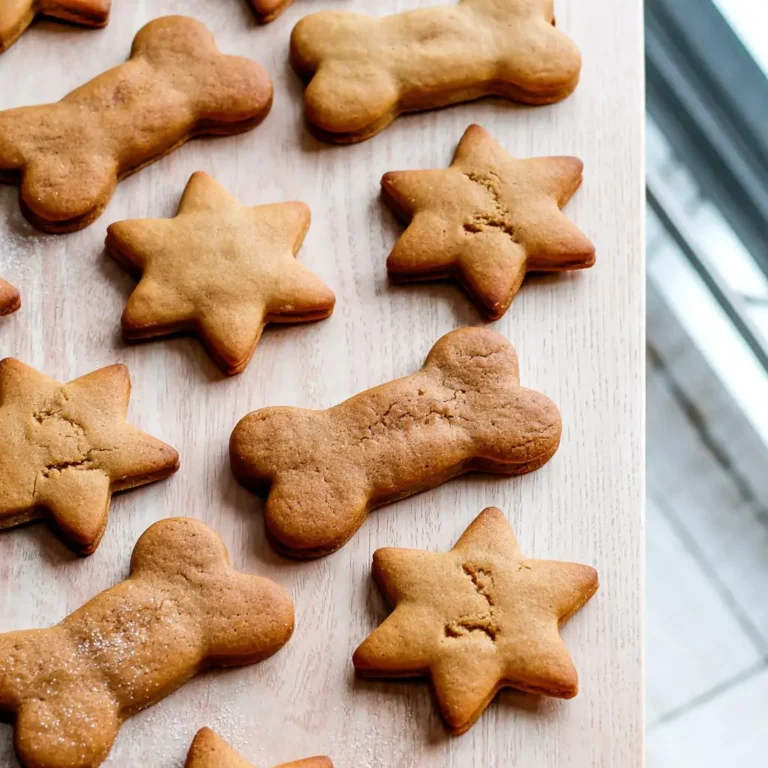
- Cookie cutters (bones, paws, hearts—go nuts)
- A baking sheet
- Parchment paper or a silicone baking mat
Optional but fun: an apron you don’t mind getting peanut butter on.
How to Make These Dog Cookies (aka the fun part)
Alright, time to put your chef hat on. Or don’t. Hats are optional.
Step-by-Step:
- Preheat the oven to 350°F (that’s 175°C if you’re fancy or not American).
- Line your baking sheet with parchment paper or a silicone baking mat. This makes clean-up a breeze and keeps you from chiseling cookies off a metal tray later.
- In a large bowl, combine your flour, peanut butter, honey, and the egg. Stir until it looks like something a dog would bark at.
- Slowly add water a little at a time until a dough forms. You want it to be soft and a little tacky, but not sticking to your fingers like a toddler with syrup hands.
- Roll out the dough on a lightly floured surface to about ¼ inch thickness. Don’t overthink this. You’re not building an Ikea shelf.
- Cut out shapes using your cookie cutters. Place each one on the baking sheet with a little space in between. Not because they’ll spread (they won’t), but because they deserve personal space.
- Bake for 15–20 minutes, or until the edges start to look golden and delicious. Resist the urge to taste-test. These are for the dogs, remember?
- Cool completely on a wire rack or plate. Let them sit for at least 10 minutes before handing one over to your very good boy or girl.
Pro Tips From Someone Who’s Been There
Here’s the stuff I wish someone told me the first time I tried making homemade dog cookies and ended up with a dough brick and a confused Labrador.
1. Always check the peanut butter label Not all peanut butter is dog-safe. Make sure it doesn’t contain xylitol (that’s a big nope for dogs). Look for natural peanut butter with just peanuts and maybe a little salt.
2. Oat flour is your BFF if your dog has allergies Whole wheat flour works great for most dogs, but if yours is sensitive or has a delicate digestive system, oat flour is a great swap. It’s softer, gluten-free, and easy on their belly.
3. Don’t skip the cooling time Hot cookies + excited dog = bad time. Let them cool. Completely. This also helps them firm up a bit more.
4. Double the recipe and freeze Since you’re already making a mess, go big. These cookies freeze beautifully. Just pull a few out when needed.
5. Add extra mix-ins, but keep it safe Wanna get fancy? Add a spoonful of pumpkin puree or some shredded carrot. Just make sure everything you add is dog-safe. Raisins, onions, chocolate = absolutely not.
Substitutions and Variations (Because You Know You Wanna Tweak It)
Look, we’re not robots. Sometimes you gotta work with what you’ve got.
- Flour: You can use oat flour, rice flour, or even coconut flour. Just know that coconut flour absorbs more moisture, so you’ll need to adjust the water.
- Honey: No honey? Try unsweetened applesauce or mashed banana for a natural sweetener that your dog will love.
- Egg: If your pup can’t have eggs, use a flax egg (1 tbsp flaxseed + 3 tbsp water, let it sit) or just skip it—though the texture might change a little.
- Add-ins: Carrot shreds, a splash of bone broth, or a sprinkle of turmeric for inflammation. Be creative, but be safe.
Make-Ahead Tips
Yes, you can totally prep this dough in advance. Just roll it into a ball, wrap it in plastic wrap or a sealed container, and pop it in the fridge. It’ll be good for about 3 days.
When you’re ready to bake, take it out and let it sit at room temp for 10–15 minutes before rolling. Your future self will thank you.
Bonus Details (Because You Deserve to Know)
Nutrition Info (per cookie, approx.)
- Calories: ~45
- Protein: 1.5g
- Fat: 2g
- Carbs: 5g
- Fiber: 0.7g
Obviously this depends on the size of your cookie cutter and if you sneak in extra ingredients, but these are pretty light as far as treats go.
Diet Variations
- Gluten-Free: Use oat or rice flour.
- Low-Fat: Reduce peanut butter slightly and use banana.
- Grain-Free: Try almond flour (though it’s pricier and changes the texture).
Meal Pairing Ideas Ok, this one’s kinda funny, because your dog’s probably just pairing this with whatever you dropped on the floor. But if you want to coordinate, these cookies go great after a bowl of kibble, or as a mid-walk treat.
Time Efficiency Tip Make a double batch and store half in the freezer. You’ll get a month’s worth of cookies in under 30 minutes. Boom.
Leftovers and Storage Tips
Room Temp: Store in an airtight jar or container for up to one week.
Fridge: Keeps for up to two weeks. Helps them stay a little firmer, too.
Freezer: Lasts about 2–3 months. Thaw for a few minutes or just serve cold. Some dogs love the crunch!
FAQ
Can humans eat these? Yes, technically. But unless you’re into bland peanut butter crackers with a hint of dog, probably not your next favorite snack. I mean, live your truth, but also… don’t.
How often can I give my dog these treats? These are treats, so moderation is key. A couple a day for most dogs is totally fine, depending on their size and how spoiled they are.
My dog is allergic to wheat—what do I do? Oat flour is your best friend. It’s gentle, gluten-free, and works almost the same in this recipe.
Can I make these crunchy or soft? Bake them a little longer (closer to 22–25 mins) if you want a super crunchy cookie. If your dog prefers softer treats, pull them out at the 15-minute mark.
Wrap Up
So that’s it—homemade peanut butter and honey cookies your dog is gonna go crazy for.
Honestly, once you make a batch of these and see your pup’s tail start wagging before they’ve even cooled off, you’ll wonder why you ever bought store-bought treats.
They’re easy, they’re wholesome, and you get major brownie points (or cookie points?) with your dog. Win-win.
If you give this recipe a try, I’d love to hear how it turned out. Drop a comment below and tell me how your dog reacted—or ask any questions if you hit a snag.

